Bootstrap - From cassette to disk


Today I know that
For those who need boot disks, but do not want to use this instruction, Ira Goldklang is offering a diskette request service on his TRS-80 site.
I began to think about whether it would be possible to create on a
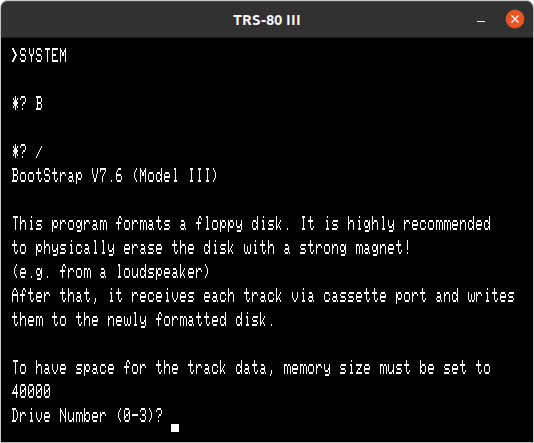
With intensiv help of Amardeep Chana (Indiana / USA), I was able to extend my program to support Model III & 4 too.
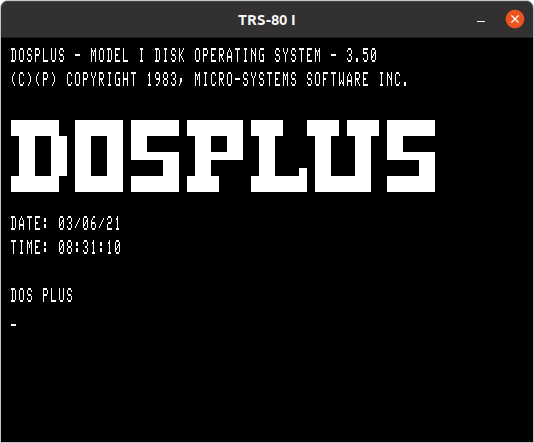
The complete process to create the disk takes about 35 minutes. This <ZIP archive>
contains WAV files to permit you to create a
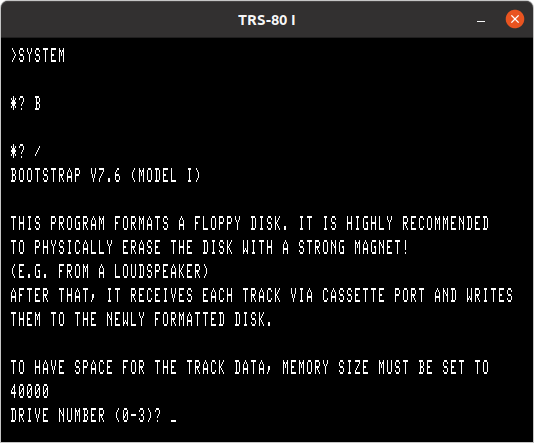
The first step is to protect the RAM which will hold the track data. To do so, set the MEMORY SIZE to 40000.
The next step is to set up the TRS-80 so that it can load data from a WAV file. There are a number of ways to this.
- You could plug a cassette recorder (make sure it is mono and not stereo) LINE IN into your PC's LINE OUT and use any WAV playing program to send the two WAV files through the LINE OUT to the tape player. Volume is key and it may take many tries to get everything correct.
- use a utility called PLAYCAS
PLAYCAS (http://knut.one/PlayCAS.htm) allows you to use your PC as a cassette player for your TRS-80 by connecting your TRS-80 cassette input ('Ear' Output) into the PC's headphones output. This <ZIP archive> contains several CAS files. One is the bootstrap program and the others are some DOS versions. - use a Linux system like a Raspberry Pi
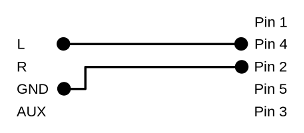
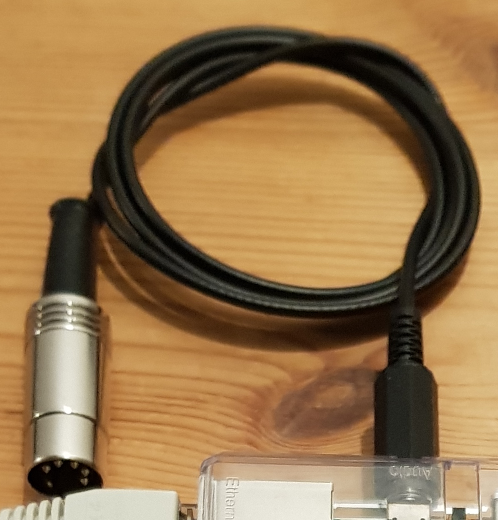
You need one cable and three commands.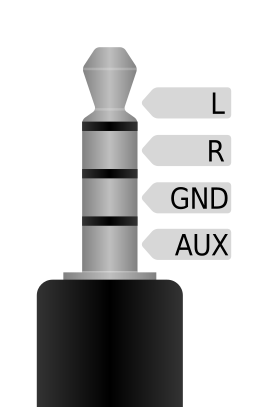

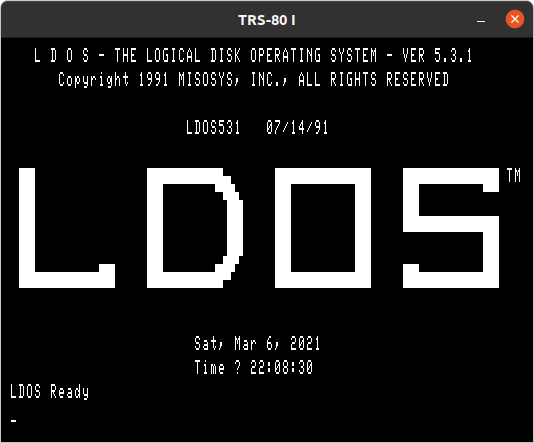
amixer sset Headphone 100%
aplay bootstrap.v7.5.500.wav
aplay "Model I - LDOS 5.3.1 (2012).500.wav"


POKE 16913,1
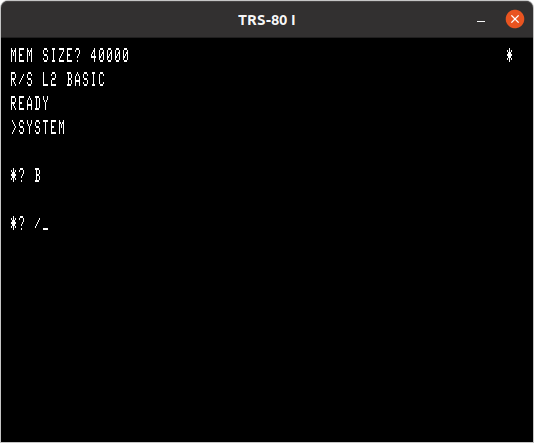
The next step is to type in SYSTEM from the READY prompt.
At the first '*?' prompt, type 'B' and hit enter. There should be 2 stars in the upper right hand corner
of the screen, with one of the two flashing periodically. If one of the stars changes to 'C',
there was an error and you will need to try again.
If you do not get a 'C' and then another '*?' prompt shows up, you need to prepare
the system for the next WAV file. If you put them back to back on the same cassette, then it is all ready.
If you are using PlayCAS or an emulator such as XTRS, you need to load the second CAS file so it is ready to go.
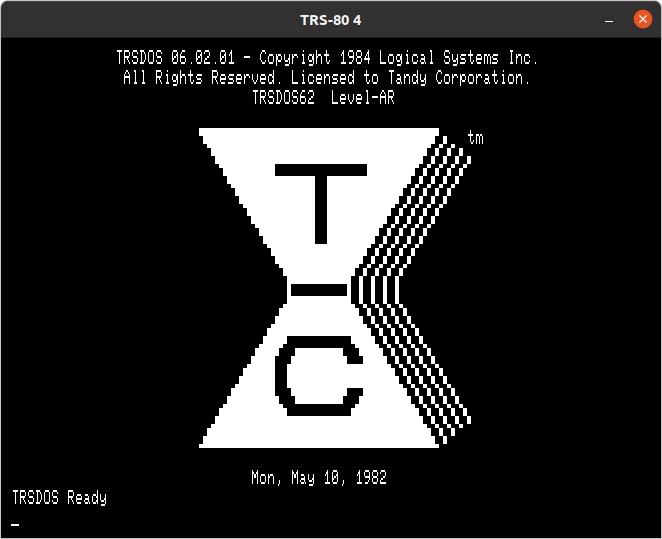
Once the data WAV file is ready, respond to the second '*?' prompt by typing type / and hitting enter. You should see 'Bootstrap v7.5' appearing on the screen.
If all goes well, you will have a boot disk.


Have fun!